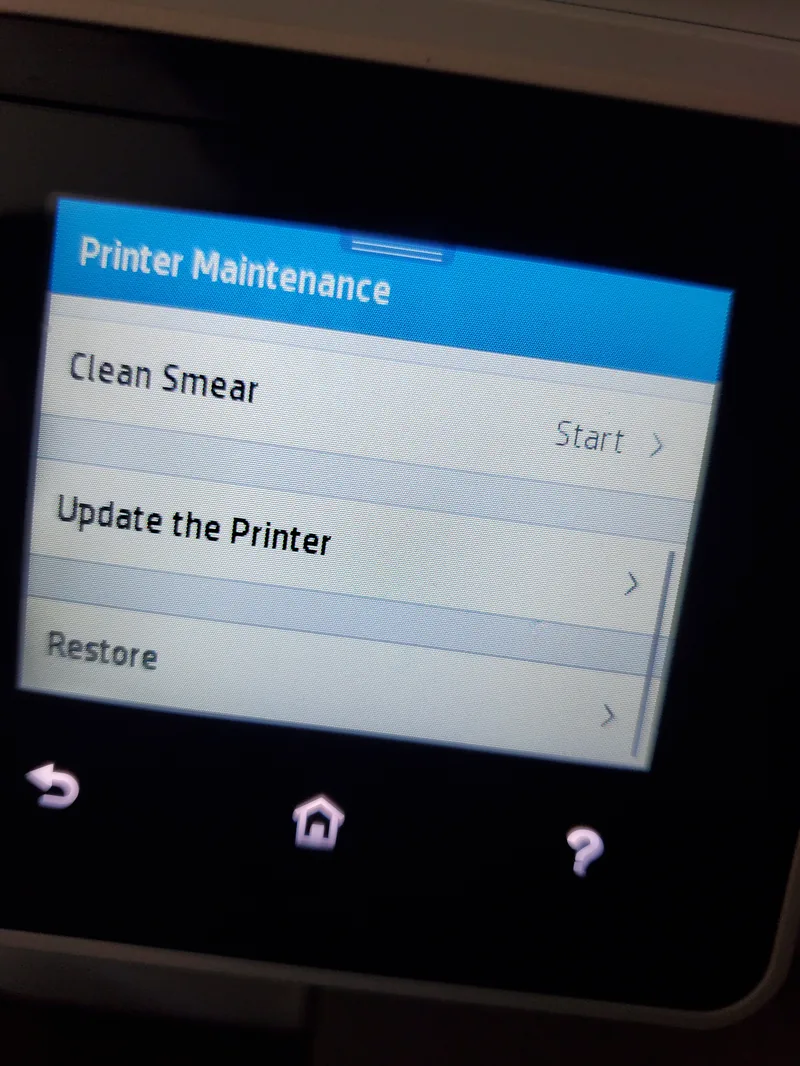
Printer Troubleshooting
Faded, Streaky or Blank Prints
Inkjet and laser print quality, diagnosed properly.
Start Here
Run the printer’s own nozzle check or test page, then follow the exact model’s interpretation and cleaning instructions. The permitted number of cleaning cycles, waiting interval, and deeper-cleaning procedure vary by model. Repeated cleanings consume ink and, on printers with a waste-ink system, can use that system’s capacity without resolving a hardware fault.
First Two Minutes
Three Checks, in This Order
- Print the printer’s own test page from its control panel, not from your computer. If the printer’s own page looks correct and pages from the computer do not, the driver, application, or print settings become the leading suspects, so troubleshoot those before using cleaning cycles.
- Is it one color or all of them? A single missing or streaked color can narrow the check to that cartridge, ink path, or print-head channel. A page that is faded across all colors may instead involve print settings, media selection, multiple consumables, or a shared imaging component.
- Inkjet or laser? They fail in completely different ways and share almost no fixes, so it is worth being certain which you have before following any advice.
Narrow It Down
Which One Describes Your Prints?
Inkjet, with gaps or streaks in one color
A partial nozzle blockage is a common cause, and where the print head physically lives affects the repair. Some consumer HP and Canon cartridges include the nozzles, so a new cartridge may replace the affected part. Many Epson and Brother models keep the head in the printer, so a new cartridge alone may not clear a blockage. Check the manual for the exact model before buying parts.
- Run a nozzle check and use the pattern examples in the exact-model manual to decide whether cleaning is appropriate.
- Use only the number of ordinary cleanings and waiting interval the manufacturer specifies. If the documented sequence does not improve the pattern, stop repeating it and identify the next model-specific step.
- If the head is in the cartridge, fit a new cartridge for the affected color.
- If the head is in the printer, use a deeper or power-cleaning option only when the manufacturer recommends it, and follow its waiting interval before testing again. These cycles consume much more ink than an ordinary cleaning.
Extended nonuse can contribute to ink-delivery problems on some models. Follow the manufacturer’s storage, shutdown, and maintenance guidance rather than using a universal test-page schedule.
Inkjet, printing blank pages with ink still in the cartridges
On a blank built-in test page, ink delivery, cartridge preparation, or a severe blockage becomes more likely than a computer-side print setting.
- If the cartridges are new, check that every piece of protective tape and every orange or blue clip has been removed. This is a more common cause than it sounds.
- Reseat the cartridges firmly until they click, and check the contacts are clean and dry.
- If the model’s instructions call for a cleaning or ink-charging procedure, run it exactly as documented and observe any waiting time before repeating a test.
Tank, cartridge, and ink-delivery systems behave differently after they run empty. Use the model’s refill, priming, or ink-charging procedure instead of assuming ordinary cleaning will restore flow.
Everything is faded, but nothing is missing
When the whole page is pale rather than streaked, a print-quality or media setting is one useful possibility to check before assuming a hardware fault.
- Check whether draft, economy or toner-save mode is switched on, either in the driver or on the printer.
- Check the paper type setting matches the paper actually loaded. Plain paper settings on photo paper, and the reverse, both produce disappointing results.
- On a laser, switch off and unplug the printer, let it cool for the time in its manual, then remove and gently rock the toner cartridge only if the manufacturer recommends that procedure. Keep toner level and avoid touching the drum or electrical contacts.
Laser, with marks that repeat down the page
A mark that repeats at a consistent interval often points to a rotating imaging or paper-path component. The interval can narrow the possibilities, but the matching part varies by model.
- Measure the distance between two repeats with a ruler.
- Compare the interval only with the measurements in documentation for that exact model. Do not infer a specific component from a generic distance chart because roller and drum dimensions vary.
- If the interval and the model’s documentation point to the drum, inspect or replace only the user-serviceable drum or drum-and-toner unit described in the manual. Do not touch the photosensitive surface or reach into the hot fuser area.
Smearing that rubs off can indicate a fuser-temperature problem, unsuitable paper or media settings, or incompatible toner. Let the printer cool and have the fuser diagnosed rather than touching it; it can remain hot and may contain exposed electrical connections.
Model Differences
Where the Print Head Lives
Print-head and imaging-system design can change which part a cartridge replacement actually replaces. The examples below are not universal brand rules; verify the exact model before buying parts or running a service procedure.
HP and Canon consumer inkjets
Some cartridges include their own nozzles, while other models use a print head installed in the printer. A replacement cartridge changes the nozzles only on the first design, so check the exact model.
Epson
Many models keep the print head in the printer, so a new cartridge may not clear a blockage. Some Epson machines also track a waste-ink pad or maintenance box, and repeated cleaning cycles fill it faster.
Brother
Many inkjet models keep the head in the printer, and some laser models use a drum unit separate from toner. Configurations and replacement economics differ by model, so confirm the documented consumables and service parts.
Avoid These
What Not to Do
- Do not run cleaning cycle after cleaning cycle. Use the exact model’s limit and waiting interval. Each cycle uses ink, and models with a maintenance box or waste-ink system also use some of that system’s capacity.
- Do not touch the nozzle plate or the gold contacts with your fingers. Before removing a cartridge, follow the model’s shutdown instructions and unplug it if the manual directs. Clean contacts only by the manufacturer’s method, and let every part dry fully before reinstalling it.
- Do not apply unapproved heat or hot water to a cartridge. Heat can deform components or cause ink or toner to leak. Use only a cleaning method the manufacturer documents for that exact product.
- Do not buy a new printer over a single streaky page. A built-in test page or nozzle check may distinguish a setting or recoverable maintenance issue from a part that needs diagnosis.
Being Straight About It
When It Is Not Worth Chasing
If the documented maintenance procedure does not improve output, compare an exact diagnosis and estimate with the cost and capabilities of a suitable replacement. A built-in head may be serviceable on one model and unavailable on another; a laser drum may be a user consumable, part of a cartridge, or a service component. The model, part availability, total condition, and workload determine the sensible choice.
Related Guides
If the page is also creasing or jamming on the way through, look at the paper path as well.
If the fix turns out to be a print head, it is worth doing the replacement sum first.
Sources and Further Reading
- Microsoft Support: fix blurry, faded, or streaked print quality in Windows
- Epson Support: an exact-model nozzle-check and cleaning example
Sources reviewed August 11, 2026. The Epson page illustrates why cleaning counts and waiting periods are model-specific; use the current instructions for your exact printer. These citations do not imply sponsorship or endorsement.
If You Would Rather Not
If you have worked through this and would rather hand it over, we repair printers on site and by drop-off at our Baker Road office in New Port Richey. We will tell you before starting if we think the machine is not worth the work. Rates are on our pricing page, and travel is charged by driving distance from the office, confirmed from your address before booking. More about the service on our printer repair page.
 Get in Touch
Written by Peter Maz, Raven Technology Solutions. Last updated 2026-08-11.
On-Site Help Near You
Palm Harbor | Port Richey | River Ridge | Safety Harbor | Tarpon Springs | Trinity
Travel is priced by driving distance from our Baker Road office and confirmed from the service address before booking. See every service area.


